• Information
  • Home
  • Introduction
  • Game Mechanics
  • Controls

  • Attu's Equipment
  • Upgrades
  • Modules
  • Body Parts
  • Weapons
  • Items

  • The World
  • Bosses
  • Enemies
  • Vendors
  • Areas

  • Other Information
  • Story
  • Guides
  • Achievements
  • Art of Development
  • Contact

Areas

Areas
Index: Areas 1 - 3, Areas 4 - 6, Areas 7 -10

Feudal Alloy is a platform role-playing video game belonging to the Metroidvania genre. Metroidvania is a sub-genre of action-adventure games and/or platformers focused on nonlinear exploration and guided progression with a need to acquire key items to enter certain areas. These games usually feature a large interconnected world map the player can explore, although parts of the world will be inaccessible to the player until they acquire special items, tools, weapons, abilities, or knowledge within the game. Acquiring such improvements can also aid the player in defeating more difficult enemies and locating shortcuts and secret areas, and often includes retracing one's steps across the map.
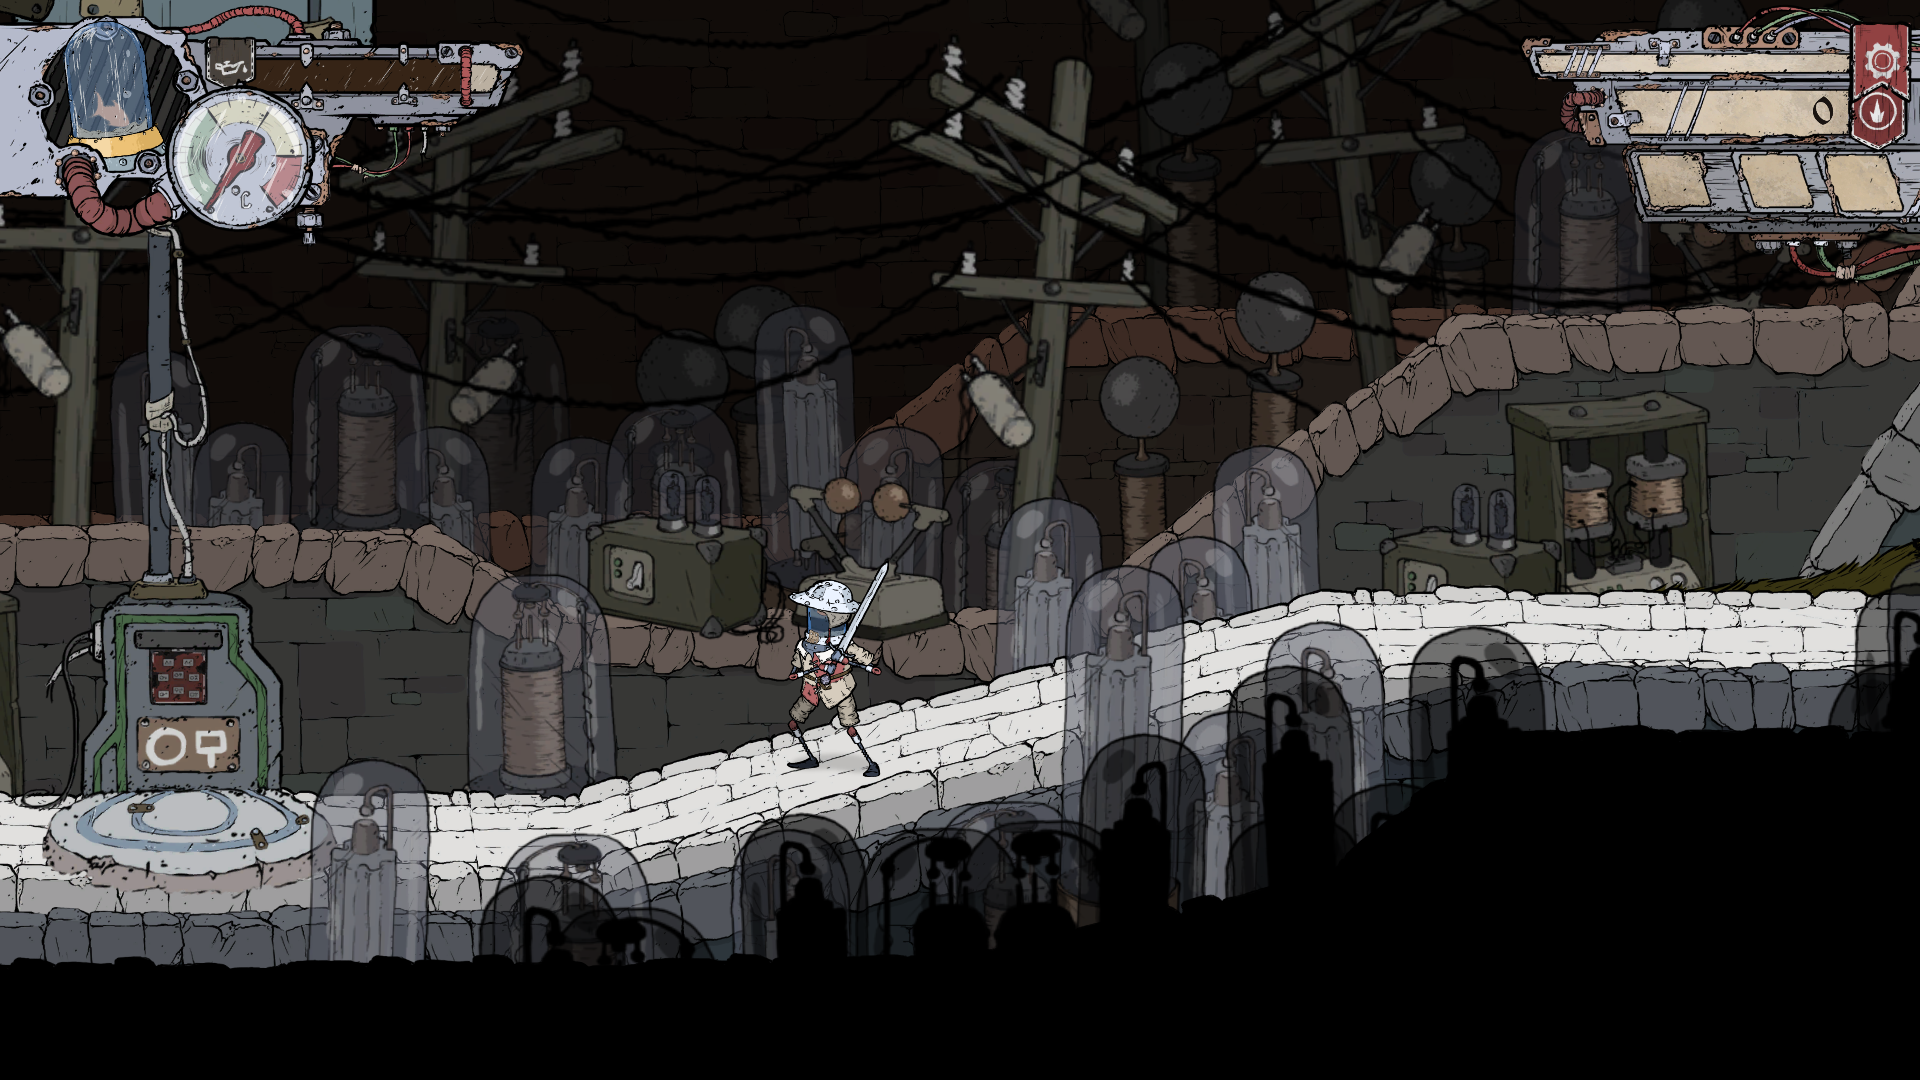
Feudal Alloy follows this formula, and you will often backtrack to the previous areas after you acquire new abilities or data cartridges. There are 10 areas; within the area is always a lootable map, which will then show you the rooms you explored in the area. Once you pick up the map, you will have to activate it in your inventory for it to show up on your map screen. There is a dedicated map button depending on what controller/keyboard you are using; alternatively, the map is accessible through the third tab in your inventory.

Teleports
The fastest way to move between areas is to use teleports [image], which are marked on the map with unique symbols for each corresponding area. In order to use them, you must activate them by entering into the teleport and pressing the up button. You can find teleports in all areas except maps 5 and 8. In the picture to the right, you can see a panel displaying all the activated teleports.

General Tips

  • When traversing the areas, don't forget to use the full scope of the controls. The longer you push the jump button, the higher you will jump, similarly if you hold the throw bomb button, it will create an arc so you can aim your throw. When going under the platform, press the jump and down buttons (stick) to go under it. When you want to interact with the objects, press the up button (stick), e.g., open the chest, use the switch, loot the open box, or use the elevator and teleport. On the other hand, if you want to pick something up from the ground, press the down button (stick). Furthermore, you can attack below you if you jump and press the down and attack buttons, which can make you bounce from the object, letting you attack again.
  • Once you pick up the map, be sure to study it well; there are drawn marks of the vendor, teleport, and symbols for data cartridges (keys).
  • Leaving the current zone (screen) will reset the enemy, so be careful when you return to the previous room since all enemies are revived.
  • Using the savepoint will replenish all your oil.
  • If some of the levers seem unreachable, you can use bombs to switch them; later on, you can use electric punches the same way.
  • When there is a timed switch for the door, be sure to find a savepoint since the closing door will crush you if you don't make it in time.
  • Watch out for suspicious ends and ledges at the edges of the map; you can find hidden treasures there.
  • If you stand below the elevator that is going down, it will crush you.


Area 1: Battlefield


Annotation & Loot Table
Concrete block: to destroy it, acquire a bomb module and use a bomb. Electronic block: to destroy it, acquire an electromagnetic pulse module and use it.
Rustic Iron Hands (1) Steel Protector (1)
Common Brass Head (1) Silver Amnesia (2)*
Ordinary Copper Head (1) Map 1
Rustic Iron Chest (1) Bomb module
Peasant Bronze Legs (1) Data Cartridge 1
Wrinkled Iron Legs (1) Locket 1/10
Simple Steel Legs (1) Coin Chests: 12*
Shiny Head (2)* Arena 1
Bronze Storm (1)
Notes: The number in the brackets represents the tier of the equipment. Shiny Head (2) is behind the electronic block, and you can destroy it with the electromagnetic pulse module, which is on map 4. Silver Amnesia (2) and Coin Chest 12 are behind the Data Cartridge 5 panel, the cartridge is on map 3.


Description
In this area you start your journey, where Attu set out for his noble quest, and enter the basement, which leads you into the forest, and your exploration of the world begins. In this starting area you will learn all the basic mechanics to traverse the terrain and how locations are structured. After you leave the forest, you will start seeing the remnants of the battles that took place here, with many of the fish-controlled robots gone. Leaving the past behind you, you should focus on the bandits who want to make scrap out of you. Items like oil cans, cooling glasses, and bombs, as well as equipment you will loot from the map, will be from the tier one category (with few hidden exceptions). In this area you will encounter the vendor for the first time, finding its tent on the main road on the surface; you can't miss it. Inside the vendor's tent, you can buy basic items and the tier one (one dot) of your equipment. It is recommended to focus on damage, armor, and oil capacity (your maximum health) rather than cooling speed and overheat temperature since the gains are small. If you examine the map, you will notice that this area features its own teleport, marked with a unique bold symbol, allowing for fast travel between locations.

Arena
The first arena on map 1 has no objects to interact with, and you will have to survive 7 waves of enemies. Enemies in this arena are the basic variants of crabs, wasps, and saw guys. If you need more information about the arena or guide how to beat it, use the bosses wiki page.


Area 2: Mold Tunnel


Annotation & Loot Table
Electronic block: to destroy it, acquire an electromagnetic pulse module and use it.
Wrinkled Iron Chest (1) Map 2
Simple Steel Head (1) Dash module
Peasant Bronze Head (1) Data Cartridge 2
Common Brass Hands (1) Locket 2/10
Stylish Legs (2)* Coin Chests: 12*
Bronze Justice (1) Arena 2
Terror Steel (1)
Notes: The number in the brackets represents the tier of the equipment. Stylish Legs (2) are behind the electronic block, and you can destroy it with the electromagnetic pulse module, which is on map 4. Coin Chests 10, 11 and 12 are behind the Data Cartridge 4 panel, the cartridge is on map 4.


Description
Before you know it, you will find yourself in the second area, which will distinguish itself with the overgrowth of mold and fungus. You will find the dash module, which will allow you to fully explore the location and overcome the spike traps placed here. Make sure to find the shortcut back to the previous area. Items like oil cans, cooling glasses, and bombs, as well as equipment you will loot from the map, will be from the tier one category (with few hidden exceptions). If you examine the map, you will notice that this area features its own teleport, marked with a unique bold symbol, allowing for fast travel between locations.

Arena
The second arena on map 2 has two wooden platforms with falling contraption, and you will have to sruvive 10 waves of enemies. This time, in addition to crabs and saw guys, there will also be larger wasps, whose attacks really hurt, so it's important to refill your oil between waves! If you need more information about the arena or guide how to beat it, use the bosses wiki page.


Area 3: Rocket Base


Annotation & Loot Table
Electronic block: to destroy it, acquire an electromagnetic pulse module and use it.
Wrinkled Iron Hands (1) Data Cartridge 3
Ordinary Copper Hands (1) Data Cartridge 5*
Common Brass Chest (1) Locket 3/10*
Fancy Legs (2)* Coin Chests: 6*
Iron Peacemaker (1) Arena 3
Map 3 Boss 1.0
Block module
Notes: The number in the brackets represents the tier of the equipment. Fancy Legs (2) and Locket 3/10 are behind the Data Cartridge 9 panel, the cartridge is on map 5. The Data Cartridge 5 and Coin Chest 6 is behind the electronic block, and you can destroy it with the electromagnetic pulse module, which is on map 4.


Description
In area 3, you will explore the abandoned rocket base, which features old rockets, silos, and bunkers; however, not all equipment is rejected here. In multiple locations, you will encounter turrets that are mounted on the walls and ceiling. Thankfully, with this new hazard will help you with the block module that you will find in this area. With it, you can press the block button and block incoming turret projectiles. Take heed: within the rocket base hides the fish bandit who stole the oil supply from your village and is your first true boss of the game. You will not meet him eye to eye, though; the bandit was prepared for your arrival and is controlling a large robot bug. If you seek strategy on how to beat him, visit the bosses wiki page. When exploring the location, you can find the shortcut that will lead you back to the previous area. Items like oil cans, cooling glasses, and bombs, as well as equipment you will loot from the map, will be from the tier one category (with few hidden exceptions). If you examine the map, you will notice that this area features its own teleport, marked with a unique bold symbol, allowing for fast travel between locations.

Arena
The third arena on map 3 with one wider wooden platform and one single shot turret attached to the ceiling and you have to survive 6 waves of enemies. You can use the wooden platform as cover from the turret's shots. Unfortunately there is no savepoint before the arena so you will have short runback in case you die. If you need more information about the arena or guide how to beat it, use the bosses wiki page.


Area 4: Power Plant


Annotation & Loot Table
Electronic block: to destroy it, acquire an electromagnetic pulse module and use it. Steel pipes block: to destroy it, acquire an electric wave module and use it.
Ancient Head (2) Electromagnetic pulse module
Fitting Hands (2) Data Cartridge 4
Shiny Legs (2) Data Cartridge 6*
Ancient Legs (2)* Locket 4/10*
Silver Hysteria (2) Coin Chests: 7*
Hope of Silver (2) Arena 4
Map 4
Notes: The number in the brackets represents the tier of the equipment. The Coin Chest 6 is behind the steel pipes block, and you can destroy it with the electric wave module, which is on map 5. Ancient Legs (2), Locket 4/10 and Coin Chest 7 are behind the Data Cartridge 8 panel, the cartridge is on map 6 and you will need the double jump module from map 6 in order to reach them.


Description
Leaving caves and tunnels behind, you will enter a more civilized location and on of the three castle locations: the power plant, which features various electronic equipment and imposing turrets placed within stone halls and along cobbled pathways. Keep an eye on not only turrets with projectiles like in the previous area, but now you will be dealing with small turrets with lasers, which cannot be dashed through (no iframes). Items like oil cans, cooling glasses, and bombs, as well as equipment you will loot from the map, will be from the tier two category (with few hidden exceptions). On this map you will also meet the vendor for the second time near the teleporting device. Now in vendor's supplies you will find medium-sized consumables and bombs, as well as the tier two (two dots) of the body parts and weapons. If you examine the map, you will notice that this area features its own teleport, marked with a unique bold symbol, allowing for fast travel between locations.

Arena
The fourth arena on map 4 has two wooden and concrete fall contraptions and two laser turrets, so you will need to utilize the platforms to survive. This time you will have to survive 5 waves of enemies. If you need more information about the arena or guide how to beat it, use the bosses wiki page.


Area 5: Chemical Laboratory


Annotation & Loot Table
Steel pipes block: to destroy it, acquire an electric wave module and use it.
Fancy Chest (2) Map 5
Pirate Chest (2) Electric wave module
Pirate Hands (2) Data Cartridge 7
Stylish Chest (2) Data Cartridge 9*
Fitting Head (2) Locket 5/10*
Fancy Hands (2)* Coin Chests: 11*
Copper Guardian (2) Arena 5
Leator (3)*
Notes: The number in the brackets represents the tier of the equipment. Locket 5/10, Fancy Hands (2), Leator (3) and Coin Chests 10,11 are behind the Data Cartridge 17 panel, the cartridge is on map 7. Data Cartridge 9 and Coin Chests 8, 9 you will need the double jump module from map 6 in order to reach them. and Locket 3/10 are behind the Data Cartridge 9 panel, which is on map 5.


Description
After you explore the power plant area, you may not notice that the electronic equipment was replaced with the chemical tubes and all kinds of glass containers. You found your way to area 5, the second castle location, the chemical laboratory, which includes moving platforms and hazards such as spikes and turrets. Items like oil cans, cooling glasses, and bombs, as well as equipment you will loot from the map, will be from the tier two category (with few hidden exceptions). If you examine the map, you will notice that this area has no teleport, and you will have to find your way there from either previous area 4 or next area 6, which both have their own teleports for fast travel.

Arena
The fifth arena on map 5 has one stone platform and two turrets shooting bouncing grenades, you will have to survive 6 waves of enemies. If you need more information about the arena or guide how to beat it, use the bosses wiki page.


Area 6: Cold Storage


Annotation & Loot Table
Yellow Block: to destroy it, acquire an yellow energy module and use it.
Pirate Head (2) Data Cartridge 8
Excellent Steel Legs (3)* Data Cartridge 10
Titanium Blade (2) Locket 6/10*
Palladium Catastrophe (2) Coin Chests: 8*
Map 6 Arena 6
Double jump module
Notes: The number in the brackets represents the tier of the equipment. Excellent Steel Legs (3) and Coin Chest 8 are behind the yellow block, and you can destroy it with the yellow energy module, which is on map 10. Locket 6/10 and Coin Chests 6, 7 are behind the Data Cartridge 13 panel, the cartridge is on map 8.


Description
Similar to the previous transition from the power plant to the chemical laboratory, you will seamlessly find your way to area 6, the last castle location, the cold storage with large cooling tanks, pipes, and bottles, signaling that there will be no place with an external heat source. In this location, you will discover the double jump module, which will enable you to perform a second jump in the air, allowing you to fully explore most areas. Items like oil cans, cooling glasses, and bombs, as well as equipment you will loot from the map, will be from the tier two category (with few hidden exceptions). If you examine the map, you will notice that this area features its own teleport, marked with a unique bold symbol, allowing for fast travel between locations.

Arena
The sixth arena on map 6 has four spike traps on the ground but you will have to survive only 3 waves of enemies. If you need more information about the arena or guide how to beat it, use the bosses wiki page.


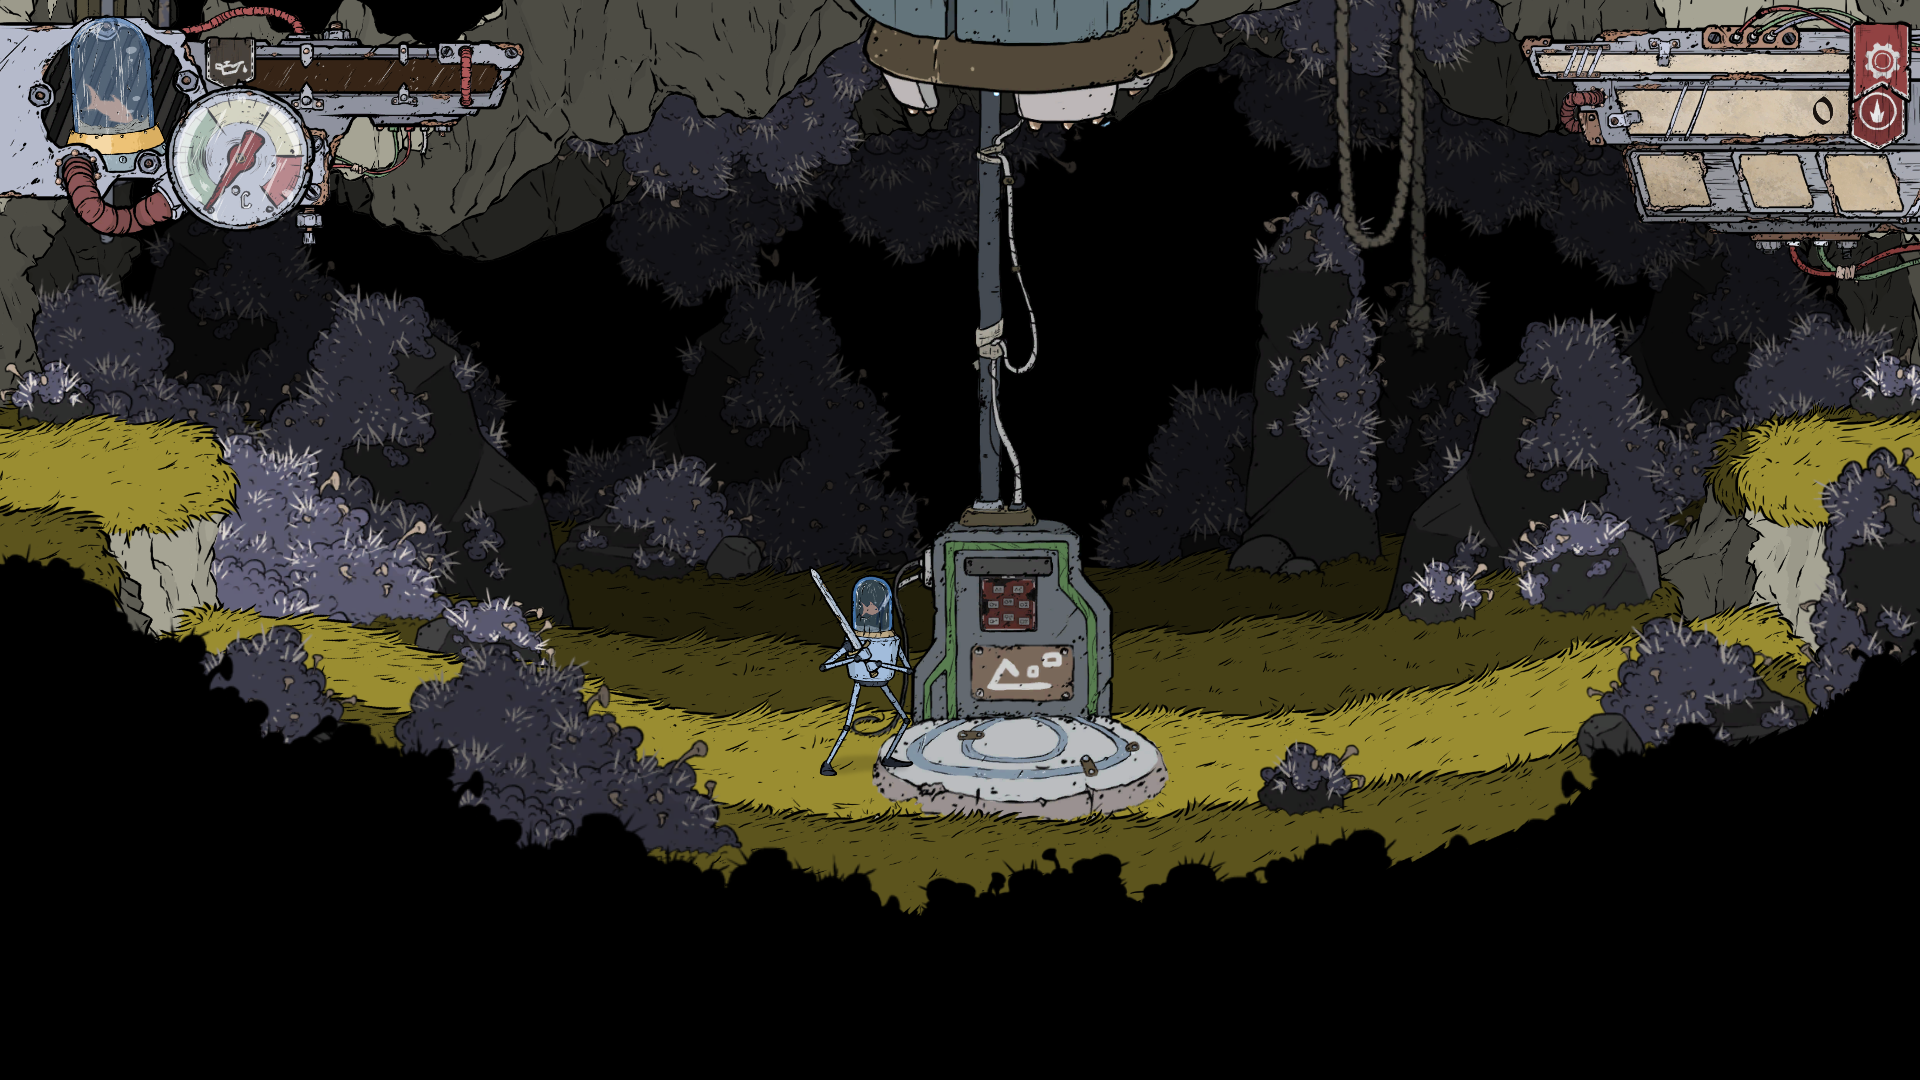
Area 7: Crystal Cave


Annotation & Loot Table
Electronic Ceiling Block: to destroy it, acquire an electric punch module and use it. Red Block: to destroy it, acquire a red energy module and use it.
Strong Platinum Legs (3) Data Cartridge 11
Excellent Steel Head (3) Data Cartridge 17*
Heavy Steel Hands (3) Locket 7/10*
Platinum Crusher (3) Coin Chests: 9*
Map 7 Arena 7
Electric punch module
Notes: The number in the brackets represents the tier of the equipment. Heavy Steel Hands (3) and Coin Chest 5 are behind the red block, and you can destroy it with the red energy module, which is on map 8. Data Cartridge 17, Locket 7/10 and Coin Chests 6, 7, 8, 9 are behind the Data Cartridge 16 panel, the cartridge is on map 9.


Description
From the stone halls and pathways, you now venture deeper into the underground, and your first stop is the crystal cave with enormous crystal monoliths, lethal turrets, and fierce enemies. There is no doubt you are in one of the endgame areas. Items like oil cans, cooling glasses, and bombs, as well as equipment you will loot from the map, will be from the tier three category. The third and final time you meet the vendor will be on this map. In the vendor's supply, you will find the big-sized consumables and bombs, as well as the tier three (three dots) of the body parts and weapons. If you examine the map, you will notice that this area features its own teleport, marked with a unique bold symbol, allowing for fast travel between locations.

Arena
The seventh arena on map 7 has two trampolines that are initially under the wooden boxes with spikes and moving laser turret mounted to the left edge. This time you will have to survive 7 waves of enemies. If you need more information about the arena or guide how to beat it, use the bosses wiki page.


Area 8: Coal Mine


Annotation & Loot Table
Red Block: to destroy it, acquire a red energy module and use it.
Powerful Rhodium Chest (3) Red energy module
Great Platinum Chest (3) Data Cartridge 12
Heavy Steel Chest (3) Data Cartridge 13
Plate Chest (3) Locket 8/10
Plate Hands (3)* Coin Chests: 12*
Rhodium Breaker (3)* Arena 8
Map 8
Notes: The number in the brackets represents the tier of the equipment. Plate Hands (3), Rhodium Breaker (3) and Coin Chest 10, 11, 12 are behind the Data Cartridge 18 panel, the cartridge is on map 10. Coin Chests 8, 9 are above the metalic wall and you will need a double jump module in order to reach them.


Description
From crystal cave, you enter the coal mine with all kinds of mining tools, wagons, and large drilling machines. Items like oil cans, cooling glasses, and bombs, as well as equipment you will loot from the map, will be from the tier three category. If you examine the map, you will notice that this area has no teleport, and you will have to find your way there from either previous area 7 or next area 9, which both have their own teleports for fast travel.

Arena
The eighth map on map 8 has a grenade launcher turret mounted to the ceiling and you will have to survive 5 waves of enemies. If you need more information about the arena or guide how to beat it, use the bosses wiki page.


Area 9: Archaeological Site


Annotation & Loot Table
Yellow Block: to destroy it, acquire an yellow energy module and use it.
Heavy Steel Head (3) Wall jump module
Great Platinum Legs (3) Data Cartridge 14
Powerful Rhodium Hands (3) Data Cartridge 16*
Plate Legs (3) Locket 9/10*
Gold Chaos (3) Coin Chests: 5
Platinum Blinder (3)* Arena 9
Map 9
Notes: The number in the brackets represents the tier of the equipment. Plate Legs (3) and Data Cartridge 16 are behind the yellow block, and you can destroy it with the yellow energy module, which is on map 10. Locket 9/10 and Platinum Blinder (3) are behind the Data Cartridge 15 panel, the cartridge is on map 10.


Description
Leaving the remnants of human mining behind, you will visit an even more distant past, that is, the enormous archaeological site with skeletal remains of the dinosaurs. Traversing the large vertical shafts, you will make use of the trampolines and double jump. Items like oil cans, cooling glasses, and bombs, as well as equipment you will loot from the map, will be from the tier three category. If you examine the map, you will notice that this area features its own teleport, marked with a unique bold symbol, allowing for fast travel between locations.

Arena
The ninth arena on map 9 has two wooden and concrete platforms with fall contraptions and two laser turrets mounted to each side of the arena. This time you will have to survive 6 waves of enemies. If you need more information about the arena or guide how to beat it, use the bosses wiki page.


Area 10: Hunting Ground


Annotation & Loot Table
Yellow Block: to destroy it, acquire an yellow energy module and use it.
Strong Platinum Legs (3) Data Cartridge 19
Platinum Crusher (3) Locket 10/10
Map 10 Coin Chests: 6
Yellow energy module Arena 10
Data Cartridge 15 Boss 2.0
Data Cartridge 18
Notes: The number in the brackets represents the tier of the equipment.


Description
Moving from the dinosaurs to human history once again, but this time you will explore the hunting ground, featuring towering wooden palisades, practice targets for archers, and a variety of hunting weapons such as spears. This is the last area of the game. Here you will face the toughest arena (more down below) and have a final confrontation with the fish bandit boss who stole the oil supply from your village. Last time you fought him, he was controlling a large robot bug; now he is back and operating the giant spider, which is the last obstacle between you and your precious supply and the end of the game. If you seek strategy on how to beat him, visit the bosses wiki page. Exploring this area will reward you with the shortcut to the power plant location on map 4. Items like oil cans, cooling glasses, and bombs, as well as equipment you will loot from the map, will be from the tier three category. If you examine the map, you will notice that this area features its own teleport, marked with a unique bold symbol, allowing for fast travel between locations.

Arena
The tenth arena on map 10 has an outside heat source, so you are constantly overheated; two wooden and concrete platforms with fall contraptions; two laser turrets mounted to each side of the arena; and iron walls for wall jumping on both sides. This time you will have to survive 7 waves of enemies. For this arena fight, you need to use all tier 3 equipment. The second attribute doesn't matter as much, but for this fight, only armor and damage are useful, as the cooling speed and overheating temperature are not used. Since it's overheated room, you'll need to use cooling (preferably a large container, but a medium one will do). If you need more information about the arena or guide how to beat it, use the bosses wiki page.


Home
Subscribe to: Posts (Atom)